|
|
| |
|
|
| WebSql |
|
 |
|
 |
| SQL power to Db2XTools |
| Open source DB2 utility for IBM System i |
|
|
|
| |
|
Operating WebSql
|
| In the location line of your WEB browser enter the following: |
| http://IP_address : port_number/websql |
where
- IP_address is the IP address of your System i
- port_number is the number of the port where your HTTP instance
is listening (if you are using the pre-defined HTTP instance configured in /websql/conf/httpd.conf,
the port number is 8033).
You receive the following screen, that allows you to define your SQL query:
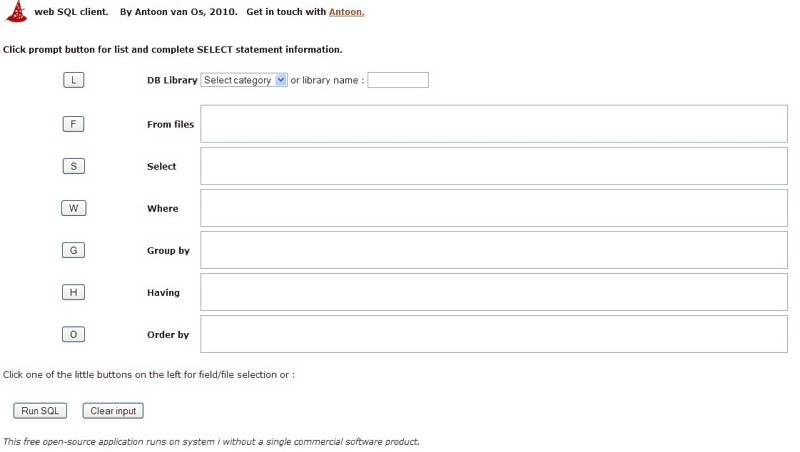 |
| Figure 1 - Initial screen |
- Selecting a library
You have two ways to select a library:
- either you type a library name in input field named "library name",
- or you select a category from the "DB library" selection list,
press the L button, and select the library name that fits your needs.
You may change library name as appropriate, while selecting files.
- Selecting a file
Press the F button to select a database file from the selected library.
Each time you press this button you can select one more database file.
You may change the library name as needed.
As a result, you will have a list of database files in the textarea next to the F button.
- Selecting a fields
Press the S button to select fields from the selected database files.
The selected fields are qualified by their file name and will become "columns" in your SQL query.
- The WHERE clause
The WHERE clause includes a comparison predicate, which restricts the rows returned by the query.
The WHERE clause eliminates all rows from the result set for which the comparison predicate does not evaluate to True.
If needed, use the W button to retrieve the field names participating in the WHERE clause.
They will appear in the text area next to the button.
However, you have to define the WHERE rules based on those field names.
- The GROUP BY clause
The GROUP BY clause is used to project rows having common values into a smaller set of rows. GROUP BY is often used in conjunction with SQL aggregation functions or to eliminate duplicate rows from a result set.
The WHERE clause is applied before the GROUP BY clause.
- The HAVING clause
The HAVING clause includes a predicate used to filter rows resulting from the GROUP BY clause.
Because it acts on the results of the GROUP BY clause, aggregation functions can be used in the HAVING clause predicate.
- The ORDER BY clause
The ORDER BY clause identifies which columns are used to sort the resulting data, and in which direction they should be sorted (options are ascending or descending).
Without an ORDER BY clause, the order of rows returned by an SQL query is undefined.
If needed, use the O button to retrieve the field names participating in the ORDER BY clause.
When finished defining the SQL query, press the Run SQL button.
You receive the following screen:
 |
| Figure 2 - Selecting the output type |
Do the following:
- Select the type of output you want (TXT, CSV, HTML, XML or XML+Schema)
- Define the name of the stream file receiving the output from the SQL query (do not specify the extension!!!)
- Define the IFS directory (the path) where the the stream file should be generated
- Press the Exec SQL button.
If the SQL query is successful, you receive the following screen:
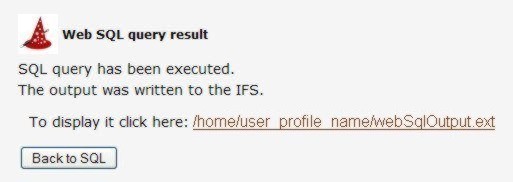 |
| Figure 3 - The SQL query was successful |
By pressing the link, the stream file is sent to your PC, which takes care of displaying it according to its extension.
|
|
Example
|
In order to get some initial practice, you may want to run the following example.
- Get to the screen in Figure 1
- Type the library name WEBSQL
- Press the F button and select file WOS
- Press the S button and select all the fields from file WOS
(just press the Check All and the Submit changes buttons)
- Press the F button and select file NTP
- Press the S button and select all the fields from file NTP
- Press the W button and select
- column name ID from table name WOS and
- column name ID from table name NTP
- In the text area next to the W button, make up the statement
WOS.ID=NTP.ID(see Figure 4)
- Press the O button and select
- column name STATE from table name WOS
As a result, you will have a screen like the one in this figure:
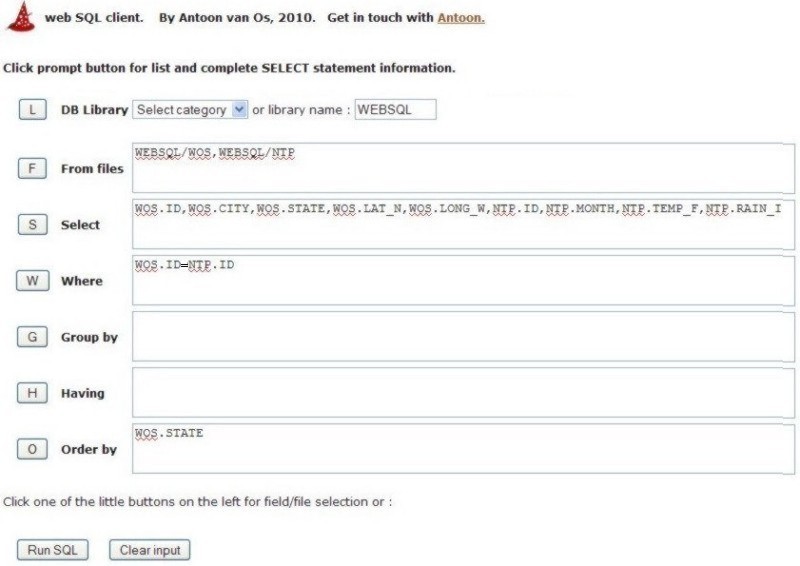 |
| Figure 4 - Sample SQL query definition |
- Press the Run SQL button and on the next screen
- select the CSV format
- you will be prompted some CSV generation parameters, make up your choices
- fix the output stream file name and path according to your needs.
as in Figure 5:
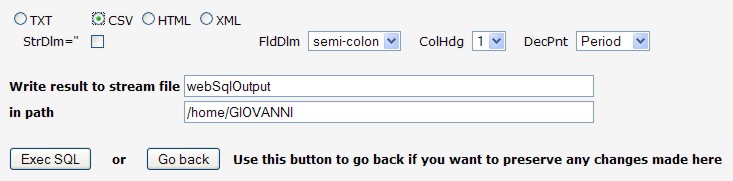 |
| Figure 5 - Define the output format and the stream file |
- After pressing the Exex SQL button, you will receive the screen in Figure 6:
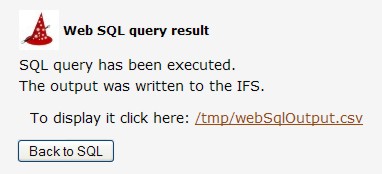 |
| Figure 6 - The output stream file was created |
- Click on the link to have the stream file sent to your PC, see the next two figures.
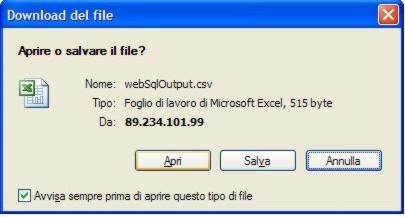 |
| Figure 7 |
 |
| Figure 8 |
|
|
|
| |

|
 contact us contact us
|
|
|
|